

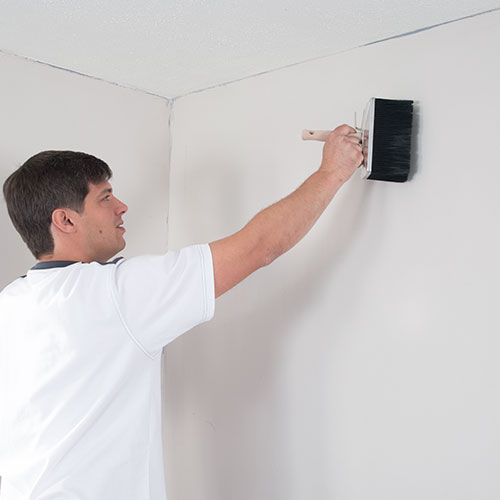
use
Preparation
Suitable are all wall and ceiling areas whose surfaces are dry, stable, clean, even, smooth and absorbent.
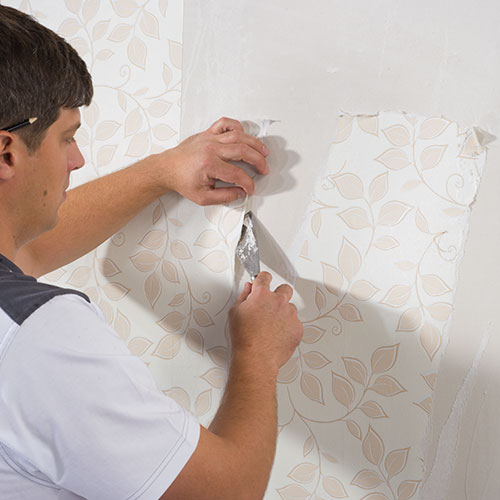
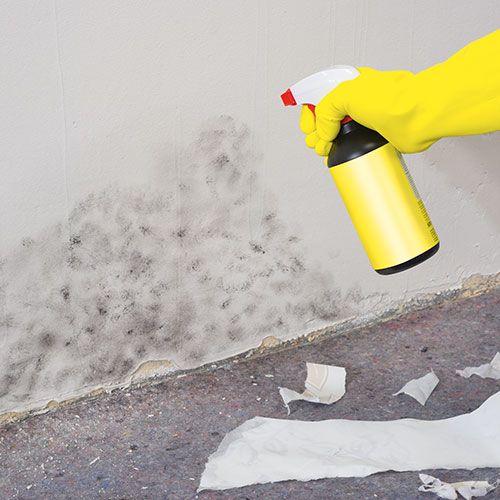
Surface preperation
Loosen old wallpaper with wallpaper remover and take it off completely. Treat existing mould with mould spray. Treat arenaceous and chalky surfaces with primer. Fill cracks, holes and unevenness with spackle. Remove dust from smoothed surfaces and prime them.
Installing the tiles
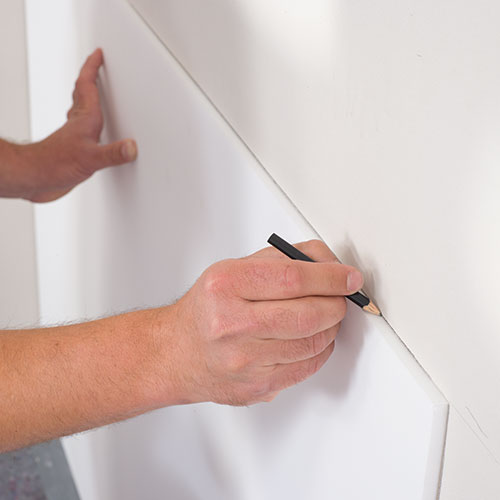
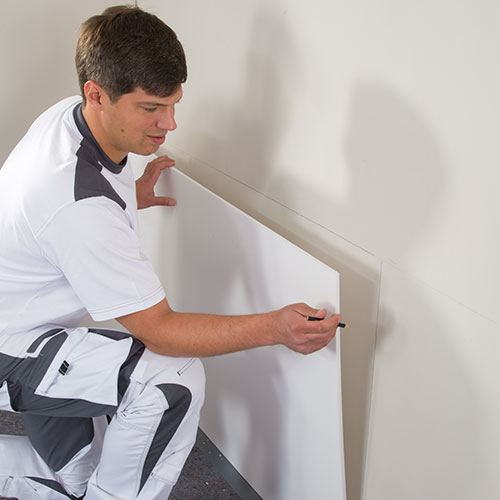
Plan allocation of tiles on the wall
Take Depron® tiles out of the packaging and mark it on the wall.
Apply glue
Apply the rigid foam glue evenly with a notched trowel in the planned size on the surface.
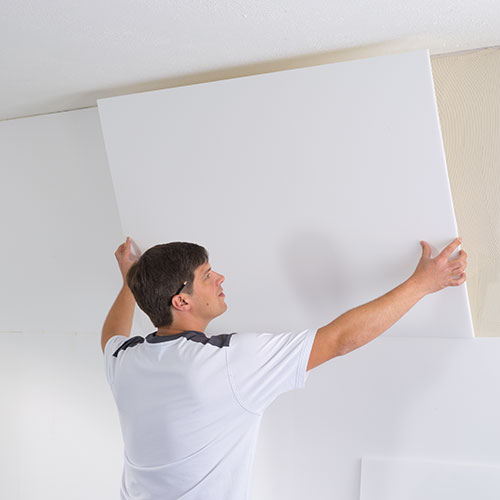
Lay tile
Lay Depron® insulation tiles with the marked backside ("Depron®" imprint) into the wet adhesive and roll well with a rubber roller. Roll out air bubbles sidewards.
Drying Time
The dying time is 24 to 48 hours depending on the indoor climate.
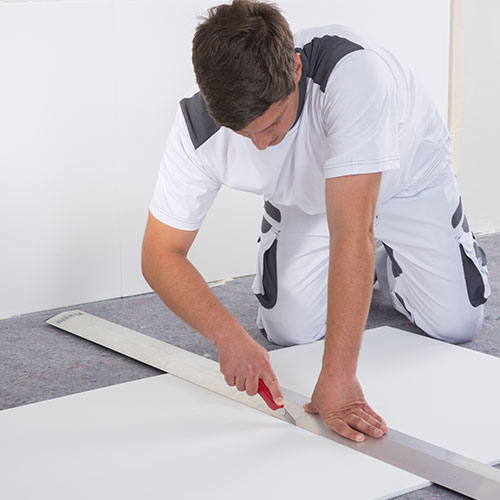
Lay the tiles in an offset manner
Cut the tile for the next row to half of the lower panel, mark it on the wall, stick end-to-end and roll.
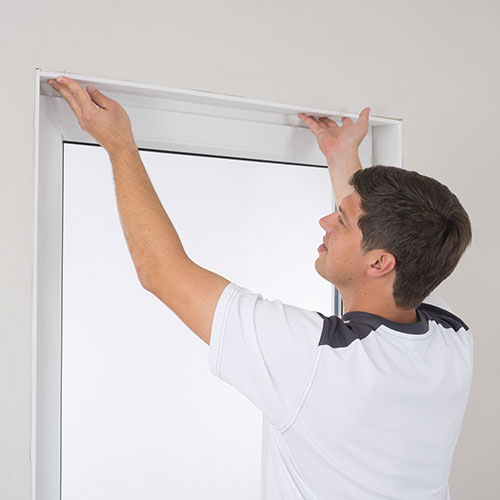
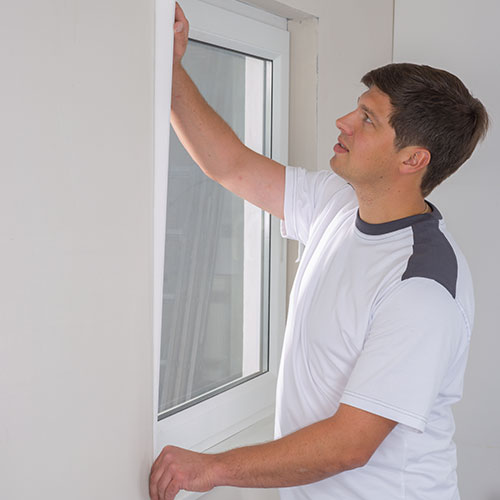
windows and niches
Window reveals
Choose the appropriate tile thickness for the window reveal, cut to size, glue and roll or press down firmly.
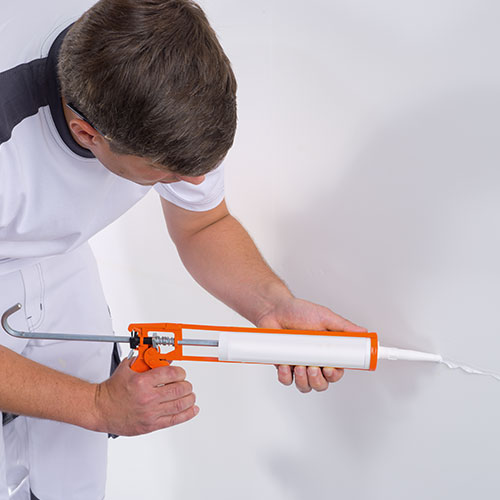
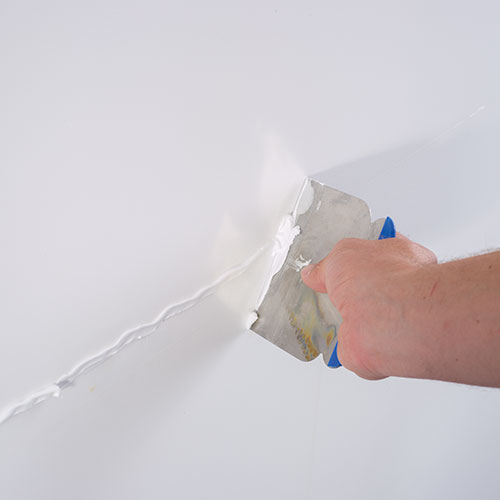
Final steps
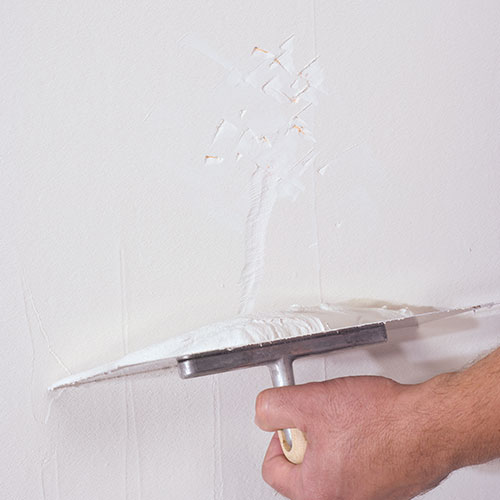
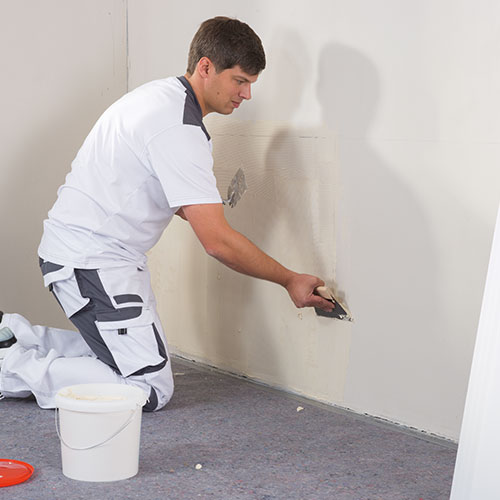
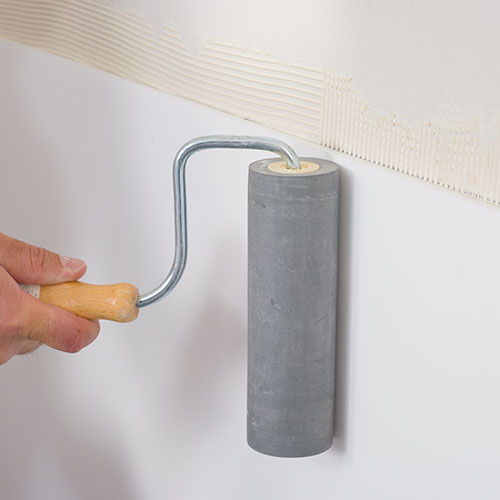
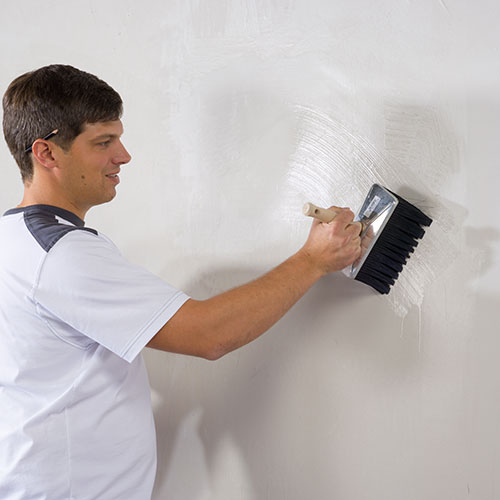
Fill transition joints
Fill butt joints with sealer and smooth out neatly. If necessary sand it after drying.
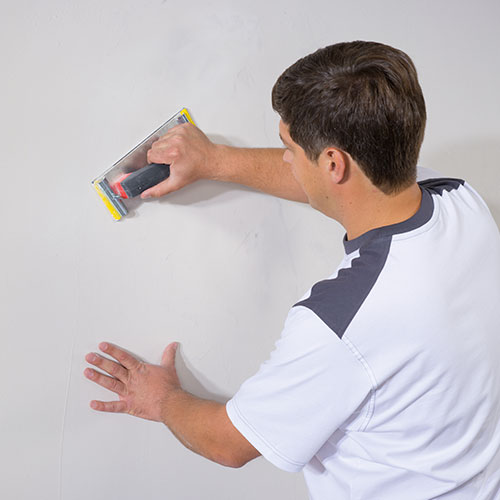
Use a roll for applying a primer coat made of diluted rigid foam adhesive (add 20 % water) and let it dry before further processing.
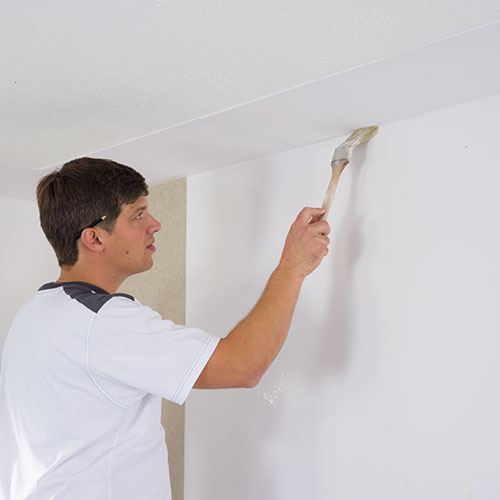
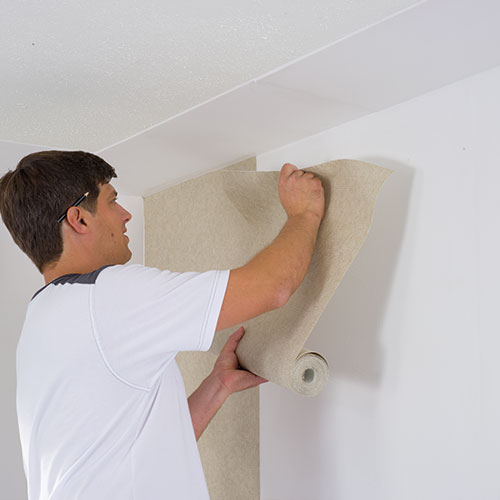
e.g. Wallpapering
After drying of the surfaces you can proceed with wallpapering of the desired surface finishings.